Frozen mango, a handful of ice, a splash of oat milk. Three ingredients, and a machine that costs less than a toaster can still turn them into something you have to chew. I know, because I've blended more bad smoothies than most people have blended good ones. Learning how to blend frozen fruit without chunks is not about buying a more expensive machine first. It's about load order, fill level, and knowing the moment your blades stop being sharp.
I run a six-stool smoothie stand in Portland called Pulp Cove, which means my mornings are 40 smoothies before 9 a.m. and my afternoons are a decibel meter and a tasting spoon. Everything below comes off that counter, not off a spec sheet.
The short version: liquid goes in first, frozen fruit goes on top, you fill the pitcher two-thirds at most, and you tamp down instead of pouring in more liquid. Then you taste for what I call grainies, the chewy texture that shows up when blades dull. That's the whole method in one paragraph. The rest of this is the why, the caveats, and the two tools that make it repeatable.
Why you should trust me
I spent eight years as an ER nurse before I opened Pulp Cove, and I blended my own breakfast and afternoon smoothie every single day through all of it, because I wanted fiber, not juice. Then I quit and started selling them, and blenders stopped being appliances and became my job.
My first machine died in a month. The next one sounded like a jet engine in my apartment, loud enough that my neighbor knocked on the door to ask what was running. Then I bought a mid-range Ninja after reading a Consumer Reports roundup that rated it near the top of its class, and it crushed ice beautifully, right up until about blend 25, when my smoothies started coming out chewy. That's when I started logging every batch at the stand: what went in, how long it ran, how loud it was at full power, and whether the result poured smooth or spoonable.
I've kept that log for years. It's the reason I can tell you that "apartment friendly" means nothing printed on a box, and that the number which actually decides a blender's price isn't wattage. It's how many velvety blends you get before the grainies arrive.
What "no chunks" actually means
Chunks are easy to define. You feel them on your tongue. A blender that leaves chunks on blend one has failed the only test that matters, and no amount of marketing fixes that.
Grainies are sneakier. Blend one is perfect. Blend ten is perfect. Somewhere around blend 25 the texture changes and you can't quite say why. Nothing broke, nothing smoked, nothing leaked. The blades just got dull, and a dull blade smears frozen fruit instead of slicing it. That's the failure mode nobody warns you about, and it's why I don't trust any blender opinion written in the first week of ownership.
There's a second axis, and it's the one that separates a budget machine from a premium one. Most blenders do their work with sharp edges. A Vitamix doesn't rely on sharpness at all. It blends with power and speed, so there's no edge to lose. That's the entire premium in one sentence. It also means a Vitamix whips more air into your drink than you expect, and a long run heats the drink up. Foam and warmth are the real trade-offs, and nobody at the store mentions them.
The two tools this workflow runs on
You need a machine, and you need one small hand tool. That's it. Here's what earns countertop space and what earns drawer space.
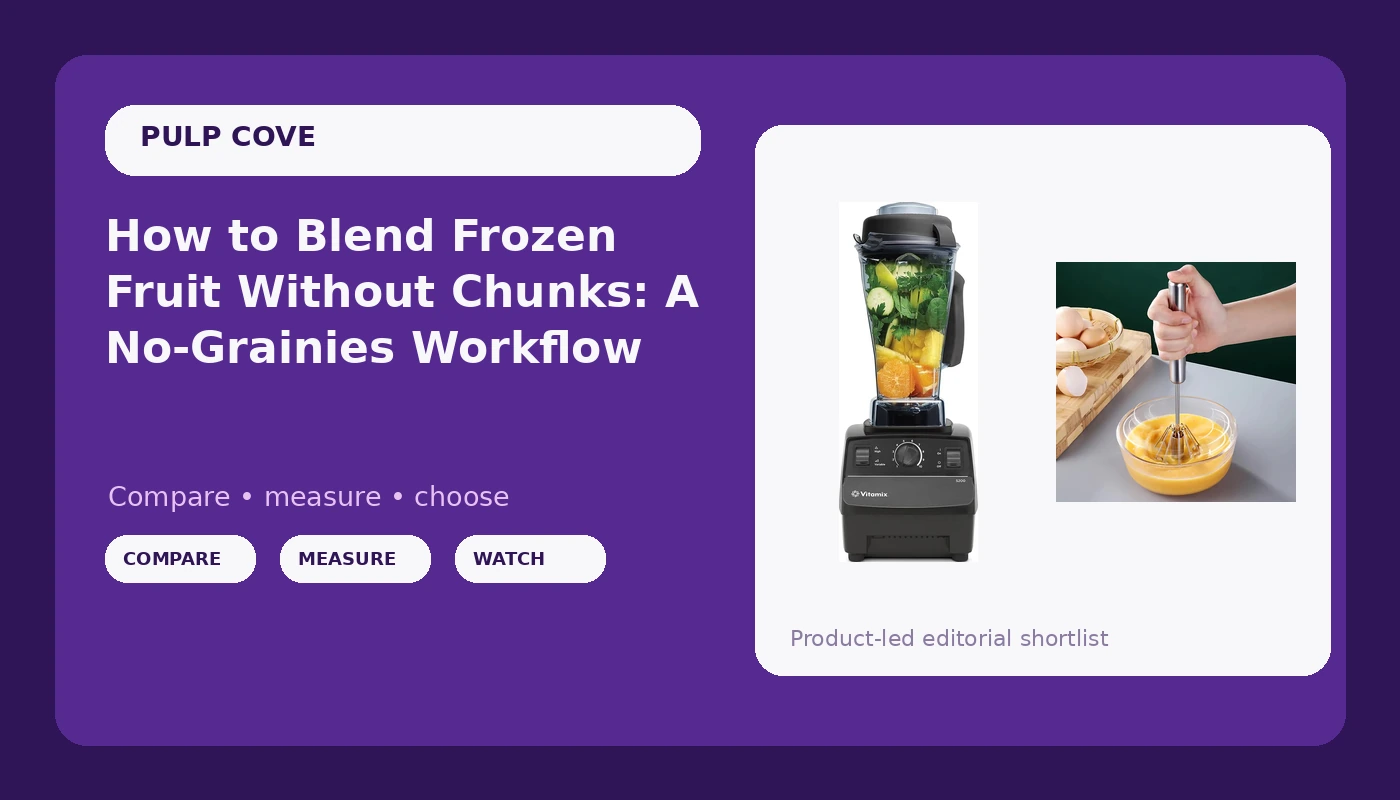
The machine: Vitamix 5200 Professional-Grade Blender, 64 oz. Container, Black
 Visit on Amazon →
This is the machine I eventually bought for the stand, at roughly five times what the mid-range Ninja cost me, and it's the one that made me stop thinking about blades. There's no sharp edge doing the work, so there's no 25-blend cliff to fall off. Frozen mango, ice, a whole frozen banana, it doesn't care. I've pushed mine far enough to make flour, which is not a sentence I ever expected to write about a blender.
Two honest caveats. First, it aerates. Blend a protein shake for 90 seconds and you'll pour half a cup of foam, and whoever drinks it will tell you it tastes like air. Blend shorter than you think you need to. Second, the 64 oz container is a curse for one person. That pitcher is built for my Sunday batch, not for a single 12 oz smoothie, and countertop real estate in a small apartment is real estate. If you live alone and blend one drink a day, measure your cabinet clearance before you commit.
Flaws but not dealbreakers: It's loud. Not jet-engine loud, but you'll hear it from the next room, and a long run warms whatever's inside. Blend with cold ingredients and don't walk away for two minutes.
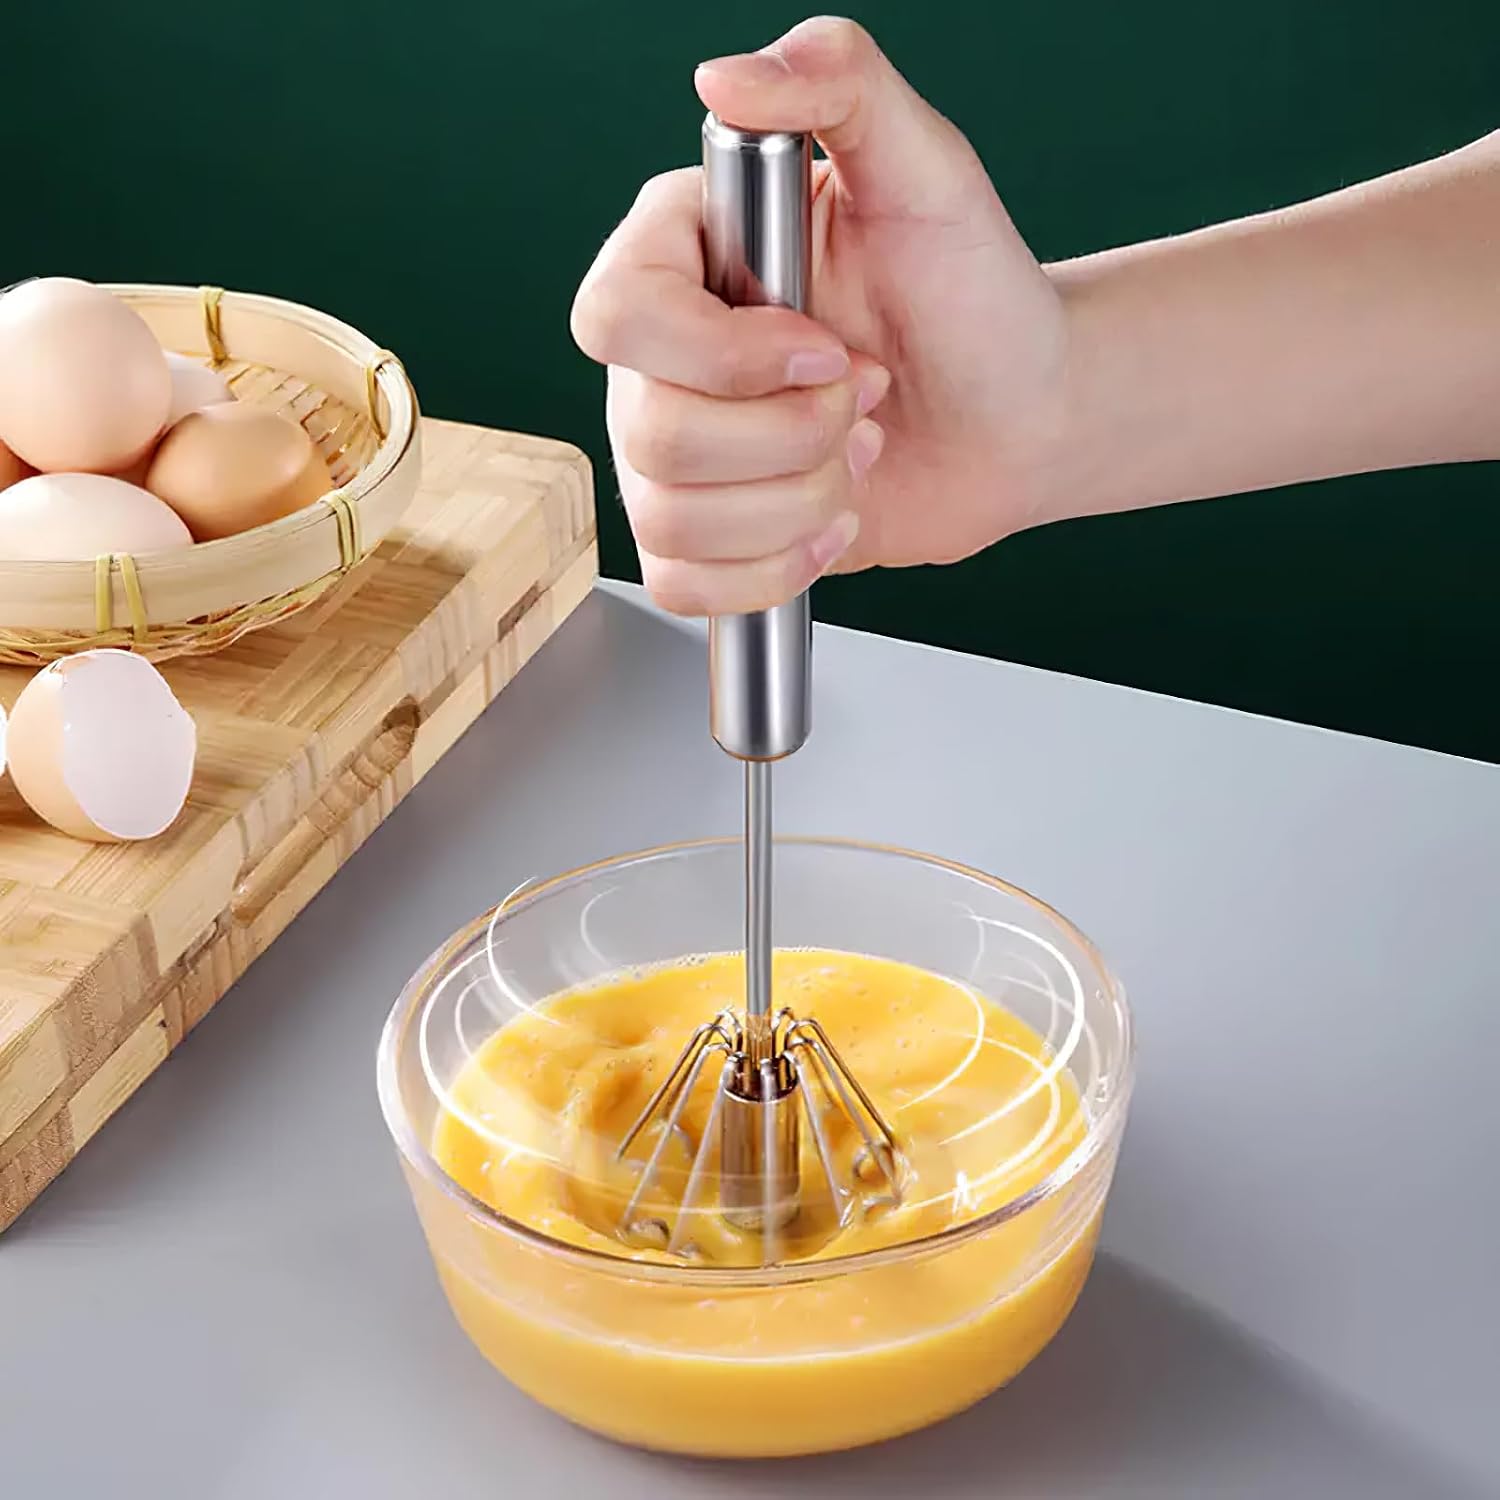
The drawer tool: Stainless Steel Semi-Automatic Whisk,Egg Whisk Hand Push Rotary Blender
 Visit on Amazon →
A hand push rotary whisk is not a blender, and I won't pretend it is. What it is: the tool that handles everything a big pitcher is bad at. Eggs for a breakfast sandwich, where a full-size blender would need a rinse cycle to deal with two eggs. Protein powder that clumps in the bottom of a shaker cup. A single serving of matcha or cocoa, or a small bowl of pancake batter you don't want to drag the machine out for. The push-down rotary action means no cranking a handle and no hunting for a battery, and stainless steel means it goes in the sink and comes out clean without a brush.
Where it falls short: it will not crush ice. It will not touch frozen fruit. It is not a substitute for the machine above, and anyone who tells you otherwise has never tried to push a whisk through a frozen strawberry. My rule at the stand is simple. If the batch is smaller than a cup, reach for the whisk. If there's anything frozen in it, use the blender.
Flaws but not dealbreakers: It's a light-duty tool with a light-duty feel, and the push mechanism likes a steady hand more than a fast one. Treat it like a whisk, not like a machine.
The workflow, step by step
This works in any blender. Adjust the times to your machine.
Step one: liquid first, always. Pour your milk, water, or juice in before anything else. Liquid at the bottom keeps the blades from spinning in air and keeps frozen fruit from packing into a brick at the base.
Step two: soft ingredients next. Yogurt, fresh banana, spinach, nut butter, protein powder. These create a cushion that pulls the frozen stuff down into the blades instead of letting it float on top.
Step three: frozen fruit and ice last. Frozen mango, frozen berries, ice cubes. The heaviest, hardest things go on top so gravity feeds them down as the vortex forms.
Step four: fill to two-thirds, not to the top. This is the step people skip, and it's the one that pops lids. A 64 oz pitcher does not mean 64 oz of smoothie. Overload it and the lid lifts, and you'll be wiping down the wall while your breakfast warms on the counter.
Step five: start low, then go high. Ten seconds on the lowest speed to break the pack, then step up. Starting on high just throws your frozen fruit up the walls of the pitcher and leaves the blades spinning free.
Step six: tamp down, don't pour in. If it stalls, stop the machine, pull the lid, and push the ingredients toward the blades with a tamper or a spatula. Adding more liquid is how you end up with a thin, watery smoothie that tastes like nothing.
Step seven: keep the run short. Sixty seconds is plenty for most blends, and longer runs warm the drink and whip in air. Cold and dense beats long and foamy every time.
Step eight: taste with a spoon. Pour a spoonful, not a sip. A sip hides texture. A spoonful tells you whether the blades are still slicing or already smearing. If you're the type to keep notes, keep notes. I do.
What goes wrong, and what to do about it
The lid pops. You overloaded it. Fill to two-thirds and tamp down instead of adding liquid.
The smoothie is foamy. You ran it too long, or your machine aerates more than you expect. Cut the time and use less liquid.
The smoothie is warm. Same cause. A long run generates heat. Frozen fruit straight from the freezer and a shorter blend fixes it.
The shake tastes like air. Aeration again. Protein shakes are the worst offenders because they're mostly liquid. Thirty seconds, not ninety.
The cup wobbles on the base. On personal blenders, that's worn connection points between the base and the cup. It's the failure that quietly ends a cheap machine's life, and no amount of cleaning brings it back.
Nothing is dishwasher safe until you check. Read the manual for every part, including the base. I've watched a base go through a cycle, and I don't recommend it.
How to tell when your blades are done
Here's the test I run, and it takes a month. Blend the same recipe every day: a cup of frozen mango, half a cup of ice, a cup of liquid. Write one word about the texture each day.
If the texture holds for months, you bought a machine that doesn't depend on sharp edges. If it goes chewy somewhere around blend 25, you bought a machine that does. Neither one is a scam. That's just the number that decides the price, and now you know it before you spend instead of after.
Sizing the machine to your actual routine
This is the part I get asked about most at the stand, usually by someone with a 72 oz pitcher and a one-person household. A big pitcher is a gift on Sunday and a chore on Tuesday. If you blend one 16 oz smoothie a day, a smaller container that actually fits under your cabinets will get used more than a giant one that doesn't.
Ask yourself three questions. How many people am I feeding? Do I have the counter inches, or does this live in a cabinet? And how often will I really run it, daily or twice a week? The answers decide whether you're shopping for power or for capacity, and they're not the same purchase.
What it costs, in the only math that matters
Value isn't the sticker. It's the price divided by how many velvety smoothies you get before the grainies start. A machine that costs several times more but never turns chewy wins that division, and it isn't close, as long as you actually blend every day.
If you blend twice a week, run the same math the other way. You'll cross blend 25 in about three months, and a machine that dulls will still be under warranty, which is cold comfort when your breakfast comes out chewy. That's the trade: pay once for power and speed, or pay again in a year for another set of sharp edges.
That's the whole guide. Liquid first, soft in the middle, frozen on top, two-thirds full, tamp down, keep it short, and taste with a spoon. The machine matters less than the order you load it in. Get the order right and even a modest blender looks better than its price tag, and a good one looks like what it is: a tool you stop thinking about.