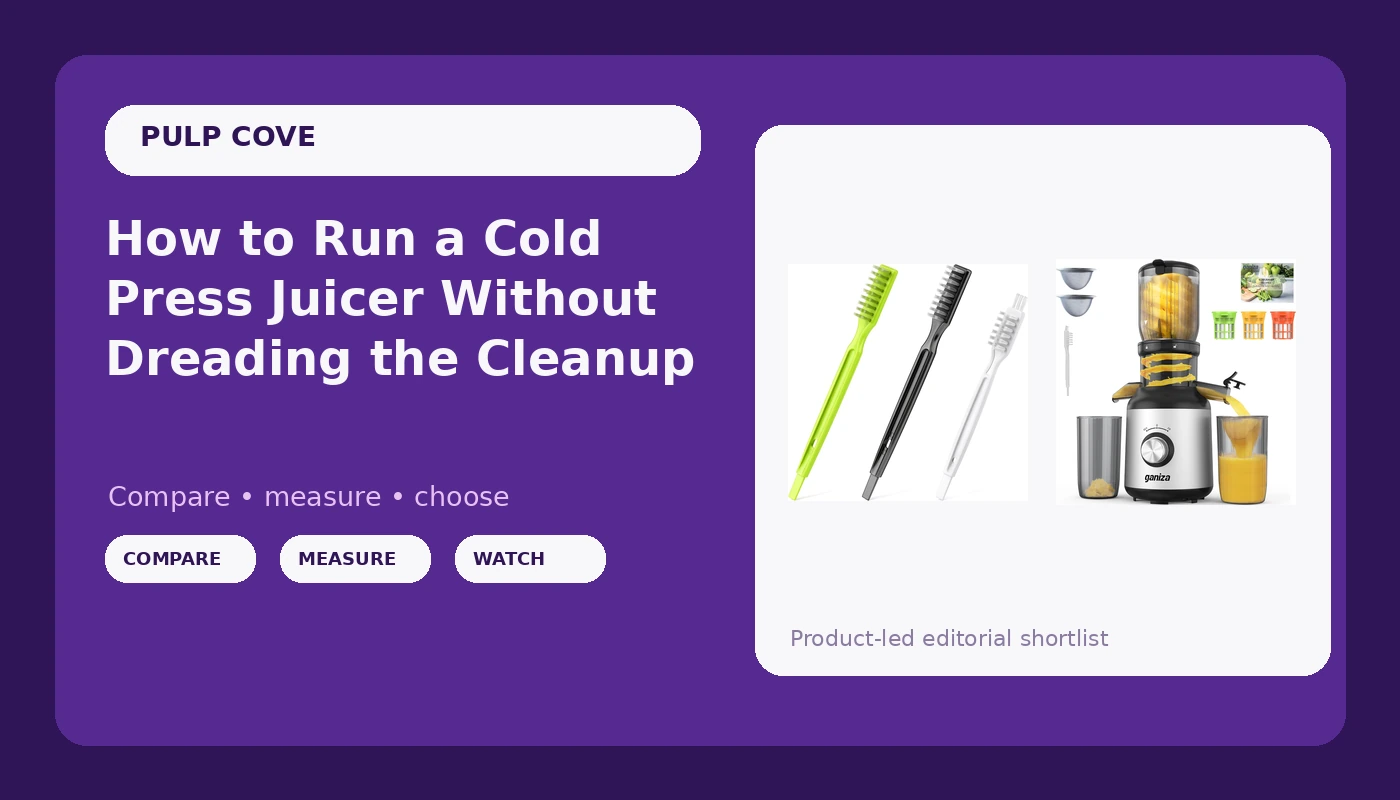
Nobody warns you that a cold press juicer is really two appliances: the one that makes juice, and the one that has to be scrubbed before the pulp sets. I have watched people buy a cold press juicer, love it for two weeks, and then retire it to a cabinet because cleanup turned into a fifteen minute chore at 6 a.m. The machine was never the problem. The order of operations was.
I run a cold press at my smoothie stand for the green juice regulars, and the workflow below is the one that keeps a juicer on the counter instead of in a cupboard. Juicing is four minutes. Cleanup is four minutes if you start it right away, and twenty if you don't. That gap is the whole guide.
Why you should trust me
I spent eight years as an ER nurse before I opened Pulp Cove, a six stool smoothie stand in Portland. I have made forty smoothies before 9 a.m. and I have made a quart of green juice while somebody waited. Blending and juicing stopped being a hobby and became the job, and the job taught me things the forums don't.
I keep logs. I own a decibel meter and I count blends, because blades dull and screens clog on a schedule, not on a feeling. My bias is simple: a machine you avoid cleaning is a machine you stop using. I would rather you own a modest juicer you actually rinse every morning than a bigger one you dread.
How I picked and how I tested
Here is the checklist every juicer gets before I point anyone at it.
- Does a full chute of greens stall the auger, or does it keep pulling?
- How many parts touch pulp, and how many of those have a corner a sponge cannot reach?
- How loud is it at full power? A meter, not a vibe.
- Does the screen clog after one batch or after five?
- Can you take it apart without the manual and a prayer?
- Does the pulp come out dry or wet? Wet pulp is juice you paid for and left behind.
Anything that fails the screen question or the parts question does not make this guide, no matter how much juice the box promises. The two products below are the pair I hand to people who ask, and the reasons are in the parts list, not the marketing.
What you need before you start
Countertop real estate is real estate. A juicer earns its square footage or it doesn't. Before you feed anything into a machine, you need two things: a chute wide enough that prep doesn't eat your whole morning, and a brush thin enough to get into the screen frame.
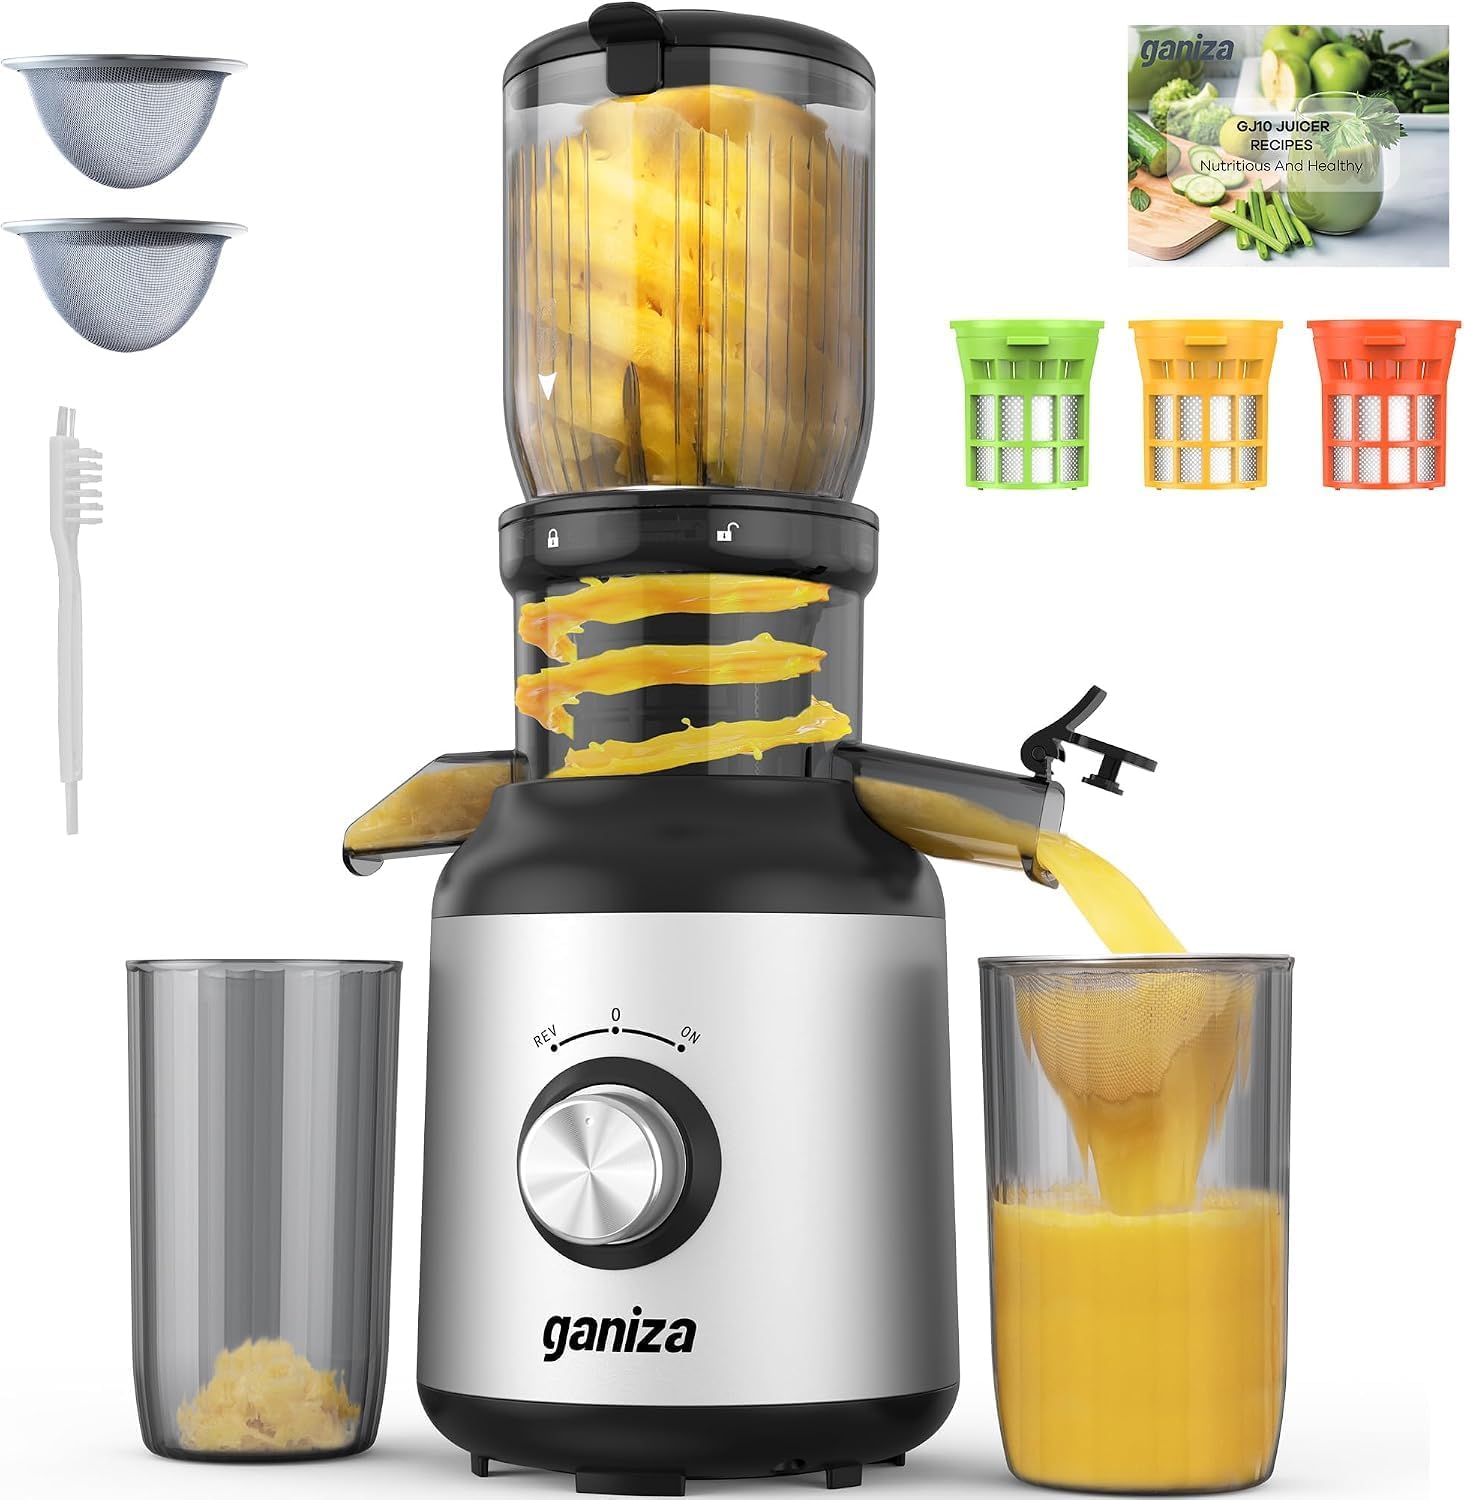
Our pick: Ganiza Cold Press Juicer Machines, 4.06" Wide Feed Chute, High Juice Yield
 Visit on Amazon →
The spec worth reading twice is the 4.06 inch feed chute. A wide chute is not a gimmick, it is the difference between cutting an apple into six pieces and dropping it in whole, and that difference shows up every single morning. Cold press means slow: the auger crushes and presses instead of shredding at high speed, which is why greens give up more liquid and why the machine stays quieter than a centrifugal juicer. That trade is worth it if you juice greens daily, and a waste if you juice one orange on Sunday.
Flaws but not dealbreakers: Cold press is slow by design. You feed one piece at a time and you wait for the auger to finish. If you want juice in thirty seconds flat, this is the wrong category of machine, and no setting will change that.
Anyone who drinks a green juice most mornings and can spare the counter space for a dedicated machine will get the most out of it.
The tool that does the dirty work: 3 PCS Juicer Cleaning Brush, Small Crevice Brush Blender Cleaning Brushes, Narrow Clean Brushes Juicer Accessories Cleaner for Small Space
 Visit on Amazon →
Three brushes, sized for crevices and small spaces. That sounds like a trivial purchase until you own a mesh screen. A sponge flattens against the screen and pushes pulp into the holes instead of out of them, which is why so many people decide their juicer "clogs no matter what." A narrow brush gets into the frame corners, the spout, and the seam where the drum meets the base, and that seam is where the smell starts. Check current Amazon price.
Flaws but not dealbreakers: They are small, and small brushes get lost. Pick a spot next to the sink and keep them there, or you will be buying them twice. If you were hoping for one giant bottle brush, this is not that set.
Anyone with a cold press, a blender with a gasket, or a travel cup with a narrow lid will use at least two of the three.
The actual juicing and cleanup workflow
Now the part you came for. This works on any cold press or masticating juicer. If yours has an auger that turns slowly and a mesh screen, you are in the right place.
Step one: Set up before you cut anything. Flat surface, juice cup under the spout, pulp container seated all the way down. A pulp bin that is not clicked in will fill, back up, and send you into a second cleanup. Thirty seconds of setup saves ten minutes of scrubbing.
Step two: Cut to fit the chute. A wide chute takes a lot whole, but long fibrous things still need work. Cut celery, kale stems, and pineapple wedges into two or three inch lengths. Long fibers wrap around the auger and stall it.
Step three: Alternate hard and soft. A handful of spinach, then a piece of apple, then more greens. The firm piece scrapes the soft pulp forward and keeps the screen moving. A chute packed with nothing but leaves is how you get a stall on batch one.
Step four: Feed one piece at a time and listen. You can hear the motor change pitch when the auger is working hard. If the pitch drops, stop feeding and let it catch up. Use reverse for two or three seconds, then forward again. Do not shove produce down with a spoon or a knife. That is how you break an auger and how you void a warranty.
Step five: Watch the pulp bin. Empty it before it is full. A packed bin pushes pulp back up into the screen housing, and your yield drops on the same produce. This is the single most common reason people think a juicer is "weak."
Step six: Rinse within thirty minutes. Not because of a rule someone made up, but because dried pulp on a mesh screen is a scraping job. Warm water, not hot, and rinse every part that touched produce before you set anything down. The motor base never goes near water. Wipe it and move on.
Step seven: Screen first, inside out. Brush the mesh from the inside out under running water. Work the frame corners with the narrow brush, then the spout, then the seam at the drum. This one step decides how tomorrow's juice tastes.
Step eight: Dry before you reassemble. Water left sitting in the drum or on the gasket is where smells come from. Towel dry the parts, air dry ten minutes, then lock it back together.
Step nine: The nights you cannot deal with it. Rinse everything, fill the drum with warm water, and leave it in the sink. It takes thirty seconds and it buys you the morning. Do not run the machine empty, and do not start batch two without rinsing the screen.
One more caveat: check your manual for dishwasher guidance on each part instead of assuming. Screens and gaskets are the parts that suffer first, and they are the parts you cannot buy at a hardware store.
The competition and why it lost
Centrifugal juicers are the loud, fast option. They shred at high speed and spin the pulp against a mesh basket, and they are genuinely fine for oranges and watermelon. They are also louder, they push more air into the glass, and they leave less in the tank when you feed them greens. Cleaning the basket is its own project.
If all you want is one glass of orange juice at breakfast, a hand reamer beats both machines and lives in a drawer. If what you actually want is fiber, a blender is the answer, not a juicer, because juicing removes exactly what a smoothie keeps.
Cold press wins in one lane: daily greens, where the extra yield and the quiet are worth the slower feed. It loses in every lane where you want speed. Buy for your real routine, not the routine you imagine having in January.
What this all costs
I am not going to pretend the math is complicated. Take the current price of the machine, divide it by the number of juices you will actually make, and be honest about that second number. Five mornings a week for two years is roughly 520 juices. Run the same division on a machine you stop cleaning after a month and the answer is ugly, because that machine cost the same and made eleven juices.
The brush set costs a rounding error next to the juicer, and it is the cheapest insurance you can buy against the clogged screen that ends the habit. Do the division with the current price on Amazon, not the price you remember from a sale.
That's the job. Four minutes to juice, four minutes to clean, and a screen that stays clear. Your counter can spare the square footage. Your mornings can spare the four minutes.